PC Games
• Orb
• Lasagne Monsters
• Three Guys Apocalypse
• Water Closet
• Blob Wars : Attrition
• The Legend of Edgar
• TBFTSS: The Pandoran War
• Three Guys
• Blob Wars : Blob and Conquer
• Blob Wars : Metal Blob Solid
• Project: Starfighter
• TANX Squadron
Tutorials
• 2D shoot 'em up
• 2D top-down shooter
• 2D platform game
• Sprite atlas tutorial
• Working with TTF fonts
• 2D adventure game
• Widget tutorial
• 2D shoot 'em up sequel
• 2D run and gun
• Roguelike
• Medals (Achievements)
• 2D turn-based strategy game
• 2D isometric game
• 2D map editor
• 2D mission-based shoot 'em up
• 2D Santa game
• 2D split screen game
• 2D quest game
• SDL 1 tutorials (outdated)
Latest Updates
The Legend of Edgar 1.38
Thu, 1st January 2026
SDL2 Quest game tutorial
Wed, 7th May 2025
SDL2 Versus game tutorial
Wed, 20th March 2024
Download keys for SDL2 tutorials on itch.io
Sat, 16th March 2024
The Legend of Edgar 1.37
Mon, 1st January 2024
Tags
• battle-for-the-solar-system (10)
• blob-wars (10)
• brexit (1)
• code (6)
• edgar (10)
• games (45)
• lasagne-monsters (1)
• making-of (5)
• match3 (1)
• numberblocksonline (1)
• orb (2)
• site (1)
• tanx (4)
• three-guys (3)
• three-guys-apocalypse (3)
• tutorials (18)
• water-closet (4)
Books

Alysha
When her village is attacked and her friends and family are taken away to be sold as slaves, Alysha Tanner sets out on a quest across the world to track them down and return them home. Along the way, she is aided by the most unlikely of allies - the world's last remaining dragon.
— Making a 2D split screen game —
Part 17: Title screen
Note: this tutorial assumes knowledge of C, as well as prior tutorials.


Introduction
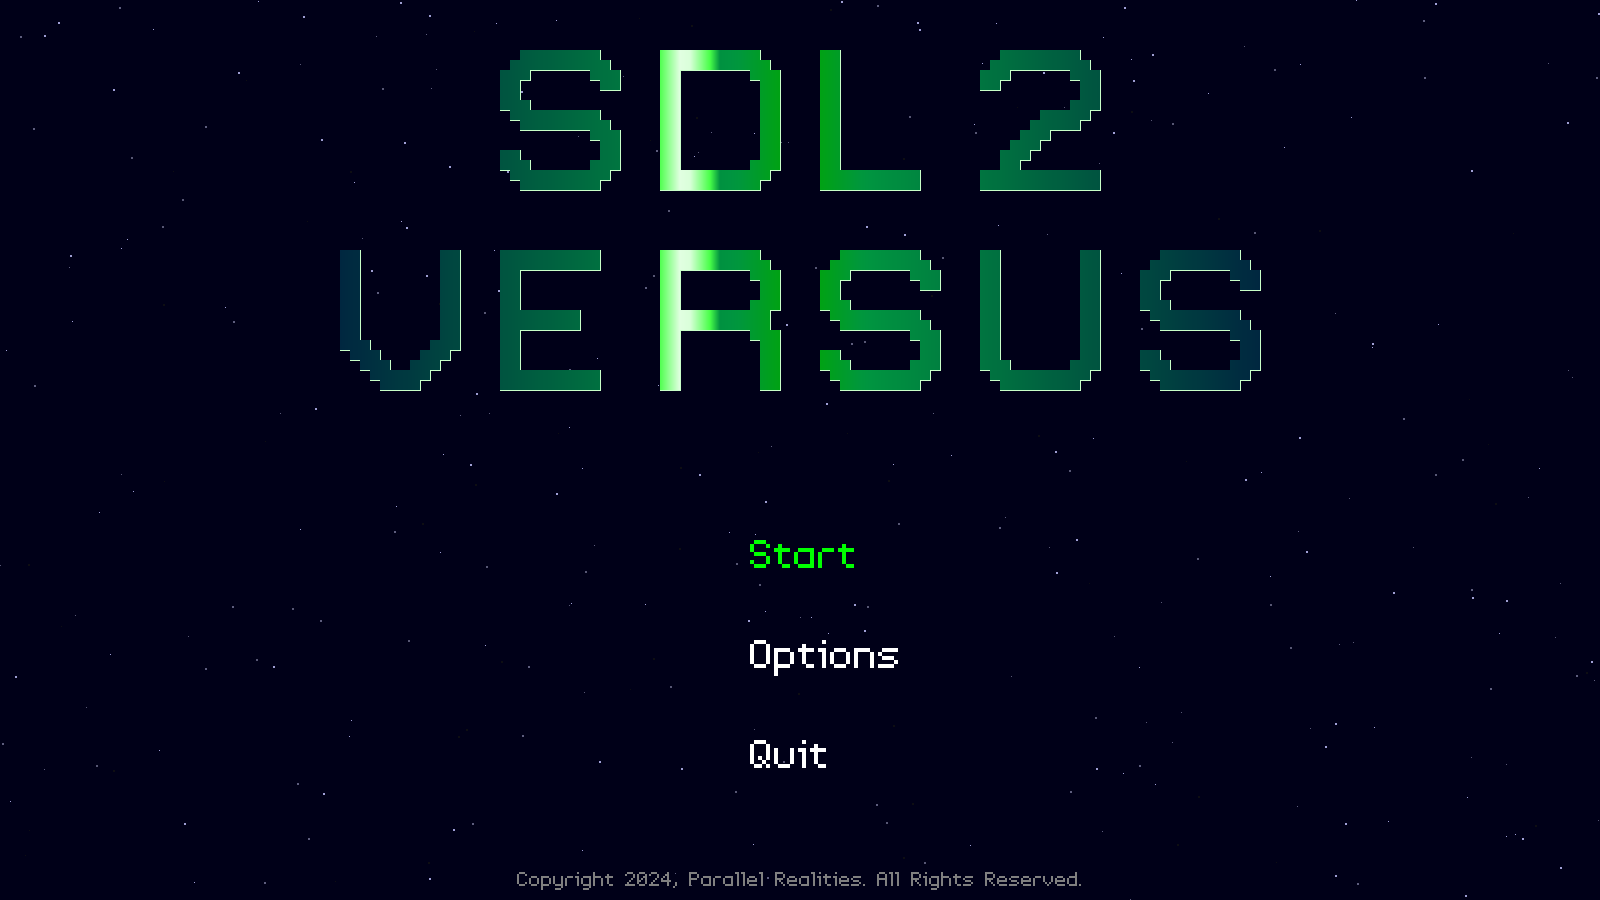
Our game is mostly complete, but is missing a handful of things. The first of these is our title screen, the thing that the player will first see when they start up the game. There won't be anything super special about it, but the logo will be constructed from Triangles.
Extract the archive, run cmake CMakeLists.txt, followed by make, and then use ./versus17 to run the code. You will see a screen appear as above, with a load of scrambled triangles coming together to form our logo. From here, you may play the game as normal. Once you're finished, close the window to exit, or Choose Quit from the main title options.
Inspecting the code
This part is focused mostly on title.c, and the loading and display of our logo. We've also added in a small starfield to the background, to make it look a little more attractive. All of these things simple to implement.
A small addition to structs.h to begin with:
typedef struct
{
	SDL_FPoint position;
	int    size;
	double pulse;
	double speed;
} Star;
This Star struct holds the data about a star in our background starfield. `position` is the position of the star, `size` is its size, `pulse` is its effective brightness, while `speed` is how fast the star moves.
We'll come to our starfield a bit later on. First, let's look at the changes to title.c.
First, we've made a few changes to initTitle:
void initTitle(void)
{
	if (!wasInit)
	{
		loadLogo();

		setupWidgets();

		wasInit = 1;
	}

	app.activeWidget = getWidget("start", "title");

	show = SHOW_TITLE;

	scramble = 128;

	shineX = 0;

	memset(&starCamera, 0, sizeof(SDL_FPoint));

	app.transitionTimer = FPS / 2;
	app.delegate.logic = logic;
	app.delegate.draw = draw;
}
We're now calling a new function: loadLogo. We only want to do this once, hence we've put it into our wasInit block. Next, we're setting a variable called `scramble` to 128. `scramble` will be used to randomly adjust the the position of the Triangles that form our logo. The greater this value, the more the Triangle points will be distorted about from their original placements. Next, we set a variable called shineX to 0. This is used to control the current horizontal position of our shine effect, that moves across our logo. Finally, we clear a variable called starCamera (an SDL_FPoint), that we'll be using when drawing our stars.
Now, turning to `logic`, we can see these things put into action:
static void logic(void)
{
	doStars();

	scramble = MAX(scramble - app.deltaTime, 0);

	if (scramble == 0)
	{
		shineX += 8 * app.deltaTime;

		if (shineX >= SCREEN_WIDTH * 2)
		{
			shineX = 0;
		}
	}

	starCamera.y += 2 * app.deltaTime;

	// snipped
}
We first call doStars to update our stars, and then decrease the value of `scramble`, limiting it to 0. We then test if `scramble` is 0, and update shineX. We'll increase shineX's value, wrapping it back to 0 if it equals or exceeds SCREEN_WIDTH; remember that this is used to move our shine effect across our logo, so it moves across the width of the screen. We also only want our logo shine effect to happen once our logo is settled, hence the check for `scramble` being 0.
Lastly, we increase starCamera's `y`, to make our stars move up the screen when they are drawn.
Now for the updates to our rendering phase, starting with `draw`:
static void draw(void)
{
	drawRect(0, 0, SCREEN_WIDTH, SCREEN_HEIGHT, 0, 0, 24, 255);

	drawStars(&starCamera);

	drawLogo();

	flushGeometry();

	// snipped
}
We're doing a few next things here - we're calling drawStars, to draw our stars; calling drawLogo, to draw the logo itself; and then flushing our geometry, to ensure everything is output in the correct manner and order. We want to ensure our geometry is output before our widgets, etc.
Now for drawLogo. This function will look quite familiar:
static void drawLogo(void)
{
	int        i, n, d;
	SDL_Vertex v;
	Triangle  *t;
	SDL_Point  points[3];

	SDL_SetRenderDrawColor(app.renderer, 200, 255, 200, 255);

	for (i = 0; i < numLogoTriangles; i++)
	{
		t = logoTriangles[i];

		for (n = 0; n < 3; n++)
		{
			memset(&v, 0, sizeof(SDL_Vertex));

			v.position.x = t->points[n].x;
			v.position.y = t->points[n].y;

			if (scramble > 1)
			{
				v.position.x += (rand() % (int)scramble - rand() % (int)scramble);
				v.position.y += (rand() % (int)scramble - rand() % (int)scramble);
			}

			d = abs(v.position.x - (SCREEN_WIDTH / 2));

			v.color.r = 0;
			v.color.b = MIN(d, 64);
			v.color.g = 168 * (1 - (d / ((SCREEN_WIDTH / 2.0) - 200)));
			v.color.a = 255;

			d = abs(v.position.x - shineX);

			if (d < SHINE_WIDTH)
			{
				v.color.r = 255 * (1 - (d / SHINE_WIDTH));
				v.color.g = 255;
				v.color.b = 255 * (1 - (d / SHINE_WIDTH));
			}

			drawVertex(&v);

			points[n].x = v.position.x;
			points[n].y = v.position.y;
		}

		SDL_RenderDrawLines(app.renderer, points, 3);
	}
}
Here, we're looping through all the Triangles that make up our logo (numLogoTriangles and logoTriangles are both static variables in title.c), and then preparing to draw the Triangle as we normally would, making use of its 3 points, as SDL_Vertexes.
However, once we have set the position of the vertex, we then test if `scramble` is greater than 1. If so, we'll randomly adjusted the `x` and `y` values of the vertice's position, according to `scramble`. As you can see, this will result in the position of our vertices jumping about very violently to begin with, before settling as `scramble` approaches 1.
Next, we're setting the colour of our vertex. In a nutshell, our vertices will be coloured green. However, as they move further from the centre of the screen (the distance calculated being set into a variable called `d`), they'll take on a blue tint. We're only allowing the blue component of our SDL_Color to have a maximum value of 64 here. This is but a small thing, to give our logo a little more personality, rather than just being shades of green!
Next up, we check how far the vertex is from the value of shineX (once again, calculating the distance and setting it into a variable called `d`). If the distance is less than SHINE_WIDTH (35), we'll want to adjust the colour. Rather than made the vertex completely white if it's within the shine width, we'll calculate the distance from the middle of the shine, to create a fall off effect. So, those vertices closer to shineX will be completely white, while those further away will simply be green.
Lastly, we'll store the vertex's `x` and `y` in an SDL_Point. `points` is an array of 3 of these, so we'll choose the SDL_Point at index `n`. After we've finished rendering the Triangle itself, we'll call SDL_RenderDrawLines, passing over our 3 SDL_Points. This create an outline of our triangle. Due to the order in which our Triangles are loaded (left to right, top to bottom) this will make it appear as though our logo has a outline on the right. Just a small thing, but a nice touch.
That's our logo drawing done. It's not overly complicated, but the shine effect does introduce the need for some additional understanding.
Moving on now to loadLogo:
static void loadLogo(void)
{
	int       i, numLines, n;
	FILE     *fp;
	Triangle *t;

	fp = openFile("data/title/logo");

	fscanf(fp, "%d", &numLines);

	numLogoTriangles = numLines;

	logoTriangles = malloc(sizeof(Triangle *) * numLines);

	for (i = 0; i < numLines; i++)
	{
		logoTriangles[i] = malloc(sizeof(Triangle));

		t = logoTriangles[i];

		for (n = 0; n < 3; n++)
		{
			fscanf(fp, "%f %f", &t->points[n].x, &t->points[n].y);
		}
	}

	fclose(fp);
}
For our logo, we're opening a file that contains the data for our Triangles, and reading in the values. The first line will be the number of Triangles in the file (read into numLogoTriangles), and so we're mallocing an array to hold them all (logoTriangles), before reading in the values, and setting them to the Triangle (`t`). Again, recall the comment about our Triangle linked list support being sort of redundant; we're not using a linked list here, so if we chose to do so, we could refactor the code elsewhere to do away with them.
That's the changes to title.c. We can now look at how we're handling our starfield. Over then to a new file called stars.c. This file contains just a few functions, that will be quite simple to understand.
First up, we have initStars:
void initStars(void)
{
	int   i;
	Star *s;

	for (i = 0; i < NUM_STARS; i++)
	{
		s = &stars[i];

		s->position.x = rand() % SCREEN_WIDTH;
		s->position.y = rand() % SCREEN_HEIGHT;
		s->pulse = rand() % 5;
		s->size = 1 + rand() % 2;
		s->speed = (1.0 + rand() % 25) * 0.01;
	}
}
As the name suggests, this function sets up our stars. For each star (NUM_STARS) in our array (stars, a static array in stars.c), we're randomly setting a `position` on screen, a `pulse`, a `size` (1 or 2), and a `speed` (between 0.01 and 0.25).
Next up is doStars:
void doStars(void)
{
	int i;

	for (i = 0; i < NUM_STARS; i++)
	{
		stars[i].pulse += 0.025 * app.deltaTime;
	}
}
Here, we're just looping through all our stars and increasing the value of its `pulse`.
Finally, we have drawStars:
void drawStars(SDL_FPoint *camera)
{
	int    i, x, y;
	double r, g, b;
	Star  *s;

	for (i = 0; i < NUM_STARS; i++)
	{
		s = &stars[i];

		hsvToRGB(0, 0, sin(s->pulse), &r, &g, &b);

		r += 255;
		r *= 0.3;

		g += 255;
		g *= 0.3;

		b += 255;
		b *= 0.45;

		x = s->position.x - (camera->x * s->speed);
		y = s->position.y - (camera->y * s->speed);

		if (x < 0)
		{
			x += SCREEN_WIDTH;
		}

		if (x >= SCREEN_WIDTH)
		{
			x -= SCREEN_WIDTH;
		}

		if (y < 0)
		{
			y += SCREEN_HEIGHT;
		}

		if (y >= SCREEN_HEIGHT)
		{
			y -= SCREEN_HEIGHT;
		}

		drawRect(x, y, s->size, s->size, r, g, b, 255);
	}
}
This function takes an SDL_PointF as an argument, as `camera`. This is the adjustment position of the stars, as we've seen with a lot of other things in our game. To begin with, we're converting our Star's `pulse` into the "value" component of a HSV to RGB conversion. We're using the sin of the star's `pulse`, to basically make the star fade and out. Our RGB will now have values between -255 and 255. We add 255, to give it a value between 0 and 512, and then multiply these values by 0.3 / 0.45 to keep them within the expected bounds of 0 - 255. Note that we're favouring a blue tint to our stars, by multiplying by 0.45, giving it a higher maximum value, compared to red and green.
Next, we calculate the position of the star relative to the camera (as `x` and `y`), and then wrap these values around to the other side of the screen, should they exceed the bounds. Finally, we draw the stars with a call to drawRect.
The very last thing we need to do is call initStars. We do this in initGameSystem, in init.c:
void initGameSystem(void)
{
	int i, numInitFuns;
	void (*initFuncs[])(void) = {initLookups, initJoypad, initDraw, initTextures, initFonts, initSound, initWidgets, initGame, initModels, initStars};

	srand(time(NULL));

	numInitFuns = sizeof(initFuncs) / sizeof(void *);

	for (i = 0; i < numInitFuns; i++)
	{
		showLoadingStep(i + 1, numInitFuns);

		initFuncs[i]();
	}
}
We've added initStars to our initFuncs array.
Our title screen finished! It features a pleasing scrambling effect of our logo, as well as a horizontal shine. There's also a nice little starfield is the background (more or less confirming our game is set in space..!).
So, we have a title screen, the ability to configure matches, goals for our games, and support for control configuration. All that is missing is sound and music, and some nice little finishing touches (you might be wondering why we're passing a camera to our starfield rendering - we'll get to that!). So, in our final part, we'll add all of these in, and conclude the creation of this game.
Purchase
The source code for all parts of this tutorial (including assets) is available for purchase, as part of the SDL2 tutorials bundle:
From itch.io