PC Games
• Orb
• Lasagne Monsters
• Three Guys Apocalypse
• Water Closet
• Blob Wars : Attrition
• The Legend of Edgar
• TBFTSS: The Pandoran War
• Three Guys
• Blob Wars : Blob and Conquer
• Blob Wars : Metal Blob Solid
• Project: Starfighter
• TANX Squadron
Tutorials
• 2D shoot 'em up
• 2D top-down shooter
• 2D platform game
• Sprite atlas tutorial
• Working with TTF fonts
• 2D adventure game
• Widget tutorial
• 2D shoot 'em up sequel
• 2D run and gun
• Roguelike
• Medals (Achievements)
• 2D turn-based strategy game
• 2D isometric game
• 2D map editor
• 2D mission-based shoot 'em up
• 2D Santa game
• 2D split screen game
• 2D quest game
• SDL 1 tutorials (outdated)
Latest Updates
The Legend of Edgar 1.38
Thu, 1st January 2026
SDL2 Quest game tutorial
Wed, 7th May 2025
SDL2 Versus game tutorial
Wed, 20th March 2024
Download keys for SDL2 tutorials on itch.io
Sat, 16th March 2024
The Legend of Edgar 1.37
Mon, 1st January 2024
Tags
• battle-for-the-solar-system (10)
• blob-wars (10)
• brexit (1)
• code (6)
• edgar (10)
• games (45)
• lasagne-monsters (1)
• making-of (5)
• match3 (1)
• numberblocksonline (1)
• orb (2)
• site (1)
• tanx (4)
• three-guys (3)
• three-guys-apocalypse (3)
• tutorials (18)
• water-closet (4)
Books
The Honour of the Knights (First Edition) (The Battle for the Solar System)
When starfighter pilot Simon Dodds is enrolled in a top secret military project, he and his wingmates begin to suspect that there is a lot more to the theft of a legendary battleship and an Imperial nation's civil war than either the Confederation Stellar Navy or the government are willing to let on.
— Mission-based 2D shoot 'em up —
Part 14: Start of intermission
Note: this tutorial assumes knowledge of C, as well as prior tutorials.


Introduction
Now that our core gameplay is mostly established, its time to move on to the intermission section. This is where the player can select missions, upgrade the KIT-E, see stats, and all the rest. There are a number of section in the intermission, some more complex than others. We'll be working through them one at a time. To begin with, we're going to layout how our main intermission screen will operate, and then bolt the other pieces on in subsequent parts.
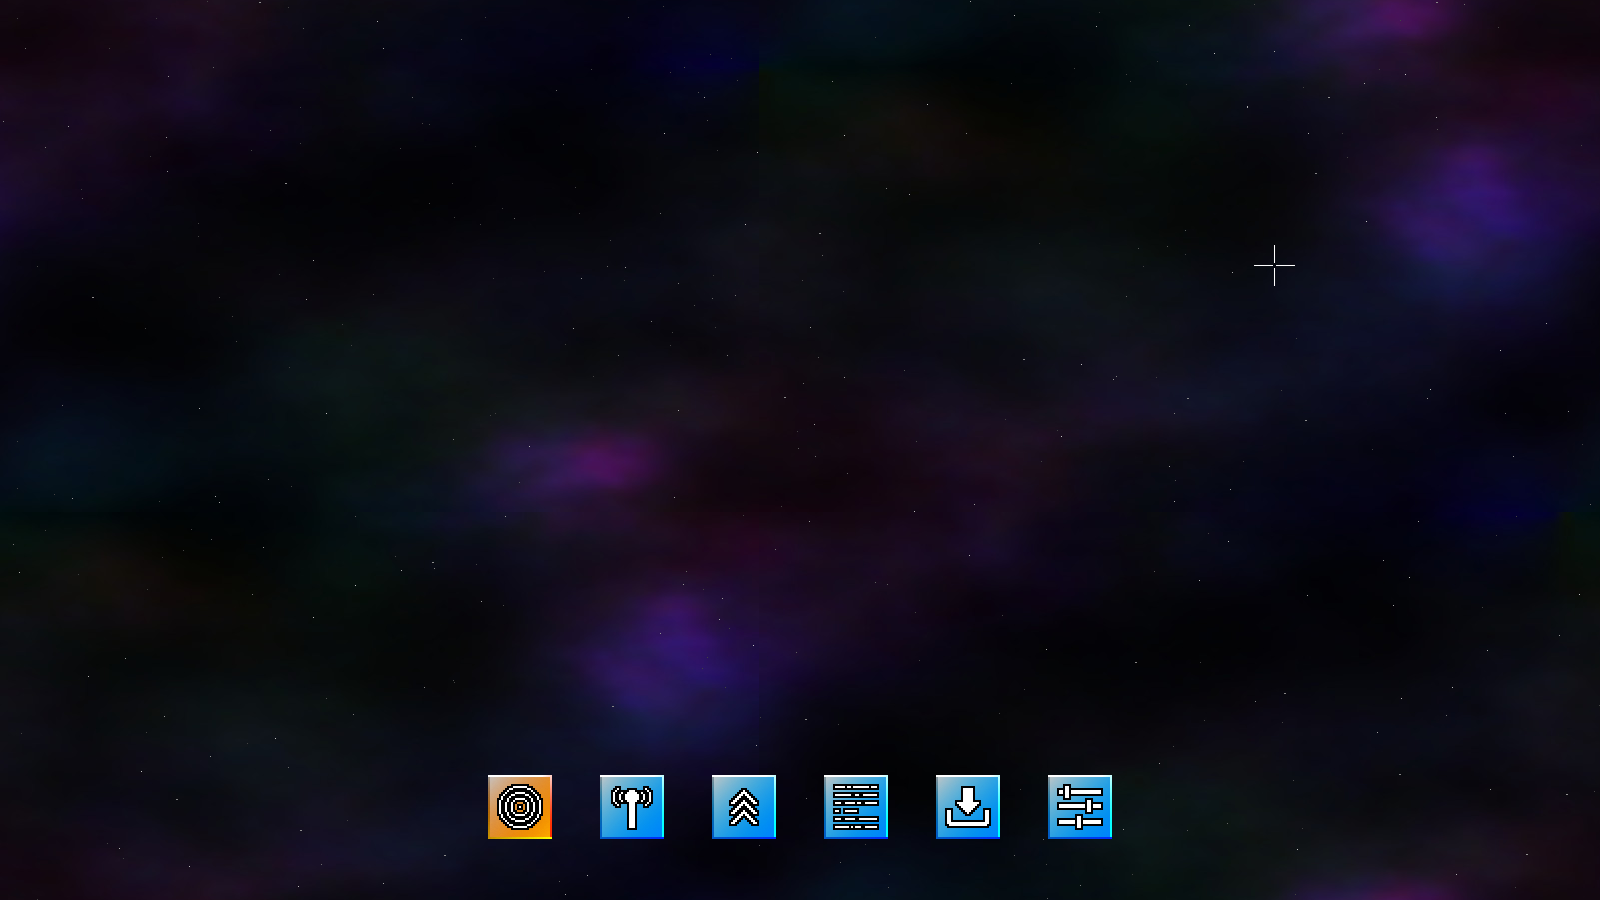
Extract the archive, run cmake CMakeLists.txt, followed by make, and then use ./shooter3-14 to run the code. You will see a window open like the one above. Use the mouse to control the cursor. The icons at the bottom of the screen can be interacted with by clicking on them. Other than changing colour, they don't do anything else. Once you're finished, close the window to exit.
Inspecting the code
Our intermission will be presented in the form of screen with a series of icons at the bottom, that can be clicked on to change section. Let's get started on the ground work before we go about implementing the different sections.
First, we've updated defs.h:
enum
{
	IS_PLANETS,
	IS_COMMS,
	IS_SHOP,
	IS_STATS,
	IS_LOAD_SAVE,
	IS_OPTIONS,
	IS_MAX
};
We've added an enum group to represent our different section. IS is short for Intermission Section. We'll see these enum values used throughout the intermission.
Turning now to our new compilation unit, intermission.c. This file already contains a number of functions for us to work through. The first is initIntermission:
void initIntermission(void)
{
	int i, x;

	initStarfield();

	background = loadTexture("gfx/backgrounds/default.jpg");

	sectionIconTexture = getAtlasImage("gfx/intermission/sectionIcon.png", 1);
	sectionIconHoverTexture = getAtlasImage("gfx/intermission/sectionIconHover.png", 1);
	sectionIconSelectedTexture = getAtlasImage("gfx/intermission/sectionIconSelected.png", 1);

	sectionIconTextures[IS_PLANETS] = getAtlasImage("gfx/intermission/planetsIcon.png", 1);
	sectionIconTextures[IS_COMMS] = getAtlasImage("gfx/intermission/commsIcon.png", 1);
	sectionIconTextures[IS_SHOP] = getAtlasImage("gfx/intermission/shopIcon.png", 1);
	sectionIconTextures[IS_STATS] = getAtlasImage("gfx/intermission/statsIcon.png", 1);
	sectionIconTextures[IS_LOAD_SAVE] = getAtlasImage("gfx/intermission/saveIcon.png", 1);
	sectionIconTextures[IS_OPTIONS] = getAtlasImage("gfx/intermission/optionsIcon.png", 1);

	x = sectionIconTexture->rect.w * IS_MAX;
	x += 48 * (IS_MAX - 1);
	x = (SCREEN_WIDTH / 2) - (x / 2);

	for (i = 0; i < IS_MAX; i++)
	{
		sectionIcons[i].x = x;
		sectionIcons[i].y = SCREEN_HEIGHT - 125;

		x += sectionIconTexture->rect.w + 48;
	}

	section = IS_PLANETS;

	starfieldTimer = 0;

	app.delegate.logic = logic;
	app.delegate.draw = draw;
	app.mouse.showCursor = 1;
}
Like initStage, this is the main entry point into our intermission. All the main logic and rendering will be handled here. We start by setting up our starfield and loading a background. You will have notice that, like the main game, we're drawing a space scene and stars. Next, we're loading a series of icons. sectionIconTexture is the default background of our icon, sectionIconHoverTexture the texture used when the mouse hovers over an icon, and sectionIconSelectedTexture is the texture used when we have an icon selected. Next, we're loading the actual icons into an array called sectionIconTextures, of IS_MAX in length.
With that done, we're doing some calculation to align our icons along the bottom of the screen. sectionIcons is an array of SDL_Points, once again of IS_MAX length. With that done, we're setting a variable called `section` to IS_PLANETS. The `section` variable will control which section we're currently in. starfieldTimer is then set to 0. Our starfield changes direction every so often, and this variable is used to control the frequency of that chance. Lastly, we're setting our `logic` and `draw` delegates, and also setting App's mouse's showCursor flag to 1, so that our mouse pointer is displayed.
Now for our `logic` function:
static void logic(void)
{
	starfieldTimer -= app.deltaTime;

	if (starfieldTimer <= 0)
	{
		ssx = rand() % 10 - rand() % 10;
		ssy = rand() % 10 - rand() % 10;

		ssx *= 0.05;
		ssy *= 0.05;

		starfieldTimer = (FPS * 5) + (rand() % (FPS * 5));
	}

	doBackground(ssx * app.deltaTime, ssy * app.deltaTime);

	doStarfield(ssx, ssy);

	doSectionIcons();
}
The first thing we're doing is reducing starfieldTimer, and then checking if it's 0 or less. If so, we're going to randomly assign `ssx` and `ssy` new values. `ssx` and `ssy` are static variables in intermission.c, and, like with those variables found in the Stage struct, they are used to control the speed of the stars and background movement. We then set starfieldTimer to a random value between 5 and 9 seconds, which will determine when the starfield movement randomly changes once more. We're then calling doBackground and doStarfield, to scroll them (as in stage.c). Lastly we're calling a function named doSectionIcons.
Not a lot going on just yet, but this will change in future parts. Now, onto doSectionIcons:
static void doSectionIcons(void)
{
	int i;

	hoverSectionIcon = -1;

	for (i = 0; i < IS_MAX; i++)
	{
		if (collision(app.mouse.x, app.mouse.y, 1, 1, sectionIcons[i].x, sectionIcons[i].y, sectionIconTexture->rect.w, sectionIconTexture->rect.h))
		{
			hoverSectionIcon = i;

			if (app.mouse.buttons[SDL_BUTTON_LEFT])
			{
				app.mouse.buttons[SDL_BUTTON_LEFT] = 0;

				if (i != section)
				{
					section = i;
				}
			}
		}
	}
}
This function is responsible for driving the interactions with the sectionIcons. We basically loop through all our sectionIcons, testing if the mouse cursor is over one. If so, we're setting a variable called hoverSectionIcon (static in intermission.c) to the value of `i` (in other words, which icon is currently being hovered over). Next, we're checking if the left mouse button has been pressed, and if we're not already viewing this section, we're setting `section` to `i`. So, in summary, we're checking for clicking on icons, and providing visual feedback for the mouse hovering over icons.
That's our logic done, so we can now look at the rendering. Our `draw` function comes next:
static void draw(void)
{
	drawBackground(background);

	drawStarfield();

	drawSectionIcons();
}
Not much to say here. We're drawing our background and starfield, and also calling a function named drawSectionIcons. Let's look at that now:
static void drawSectionIcons(void)
{
	int         i;
	AtlasImage *texture;

	for (i = 0; i < IS_MAX; i++)
	{
		texture = sectionIconTexture;

		if (i == section)
		{
			texture = sectionIconSelectedTexture;
		}
		else if (i == hoverSectionIcon)
		{
			texture = sectionIconHoverTexture;
		}

		blitAtlasImage(texture, sectionIcons[i].x, sectionIcons[i].y, 0, SDL_FLIP_NONE);

		blitAtlasImage(sectionIconTextures[i], sectionIcons[i].x + 7, sectionIcons[i].y + 7, 0, SDL_FLIP_NONE);
	}
}
This function does as the name suggests - it draws the section icons. We setup a for-loop to go from 0 to IS_MAX. We set `texture` as sectionIconTexture, to act as the default background texture, then test if `i` is equal to `section` (the currently active section) or `i` equal to hoverSectionIcon (the icon the mouse is resting over), and update it appropriately. We then draw the chosen texture, before overlaying the appropriate icon. Using this composite technique means we only need three total background images, rather than three different images for each of our icons..!
That was easy! There's not a lot to see and do right now, but we've now finished the ground work for our intermission section, so it's now just a case of implementing all the individual pieces. In the next part, we'll start with the system star and planets view.
Purchase
The source code for all parts of this tutorial (including assets) is available for purchase:
From itch.io
It is also available as part of the SDL2 tutorial bundle: