PC Games
• Orb
• Lasagne Monsters
• Three Guys Apocalypse
• Water Closet
• Blob Wars : Attrition
• The Legend of Edgar
• TBFTSS: The Pandoran War
• Three Guys
• Blob Wars : Blob and Conquer
• Blob Wars : Metal Blob Solid
• Project: Starfighter
• TANX Squadron
Tutorials
• 2D shoot 'em up
• 2D top-down shooter
• 2D platform game
• Sprite atlas tutorial
• Working with TTF fonts
• 2D adventure game
• Widget tutorial
• 2D shoot 'em up sequel
• 2D run and gun
• Roguelike
• Medals (Achievements)
• 2D turn-based strategy game
• 2D isometric game
• 2D map editor
• 2D mission-based shoot 'em up
• 2D Santa game
• 2D split screen game
• 2D quest game
• SDL 1 tutorials (outdated)
Latest Updates
The Legend of Edgar 1.38
Thu, 1st January 2026
SDL2 Quest game tutorial
Wed, 7th May 2025
SDL2 Versus game tutorial
Wed, 20th March 2024
Download keys for SDL2 tutorials on itch.io
Sat, 16th March 2024
The Legend of Edgar 1.37
Mon, 1st January 2024
Tags
• battle-for-the-solar-system (10)
• blob-wars (10)
• brexit (1)
• code (6)
• edgar (10)
• games (45)
• lasagne-monsters (1)
• making-of (5)
• match3 (1)
• numberblocksonline (1)
• orb (2)
• site (1)
• tanx (4)
• three-guys (3)
• three-guys-apocalypse (3)
• tutorials (18)
• water-closet (4)
Books
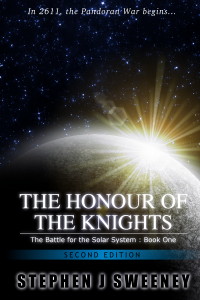
The Honour of the Knights (Second Edition) (Battle for the Solar System, #1)
When starfighter pilot Simon Dodds is enrolled in a top secret military project, he and his wingmates begin to suspect that there is a lot more to the theft of a legendary battleship and the Mitikas Empire's civil war than the Helios Confederation is willing to let on. Somewhere out there the Pandoran army is gathering, preparing to bring ruin to all the galaxy...
— Mission-based 2D shoot 'em up —
Part 10: Secondary weapon: Mines
Note: this tutorial assumes knowledge of C, as well as prior tutorials.


Introduction
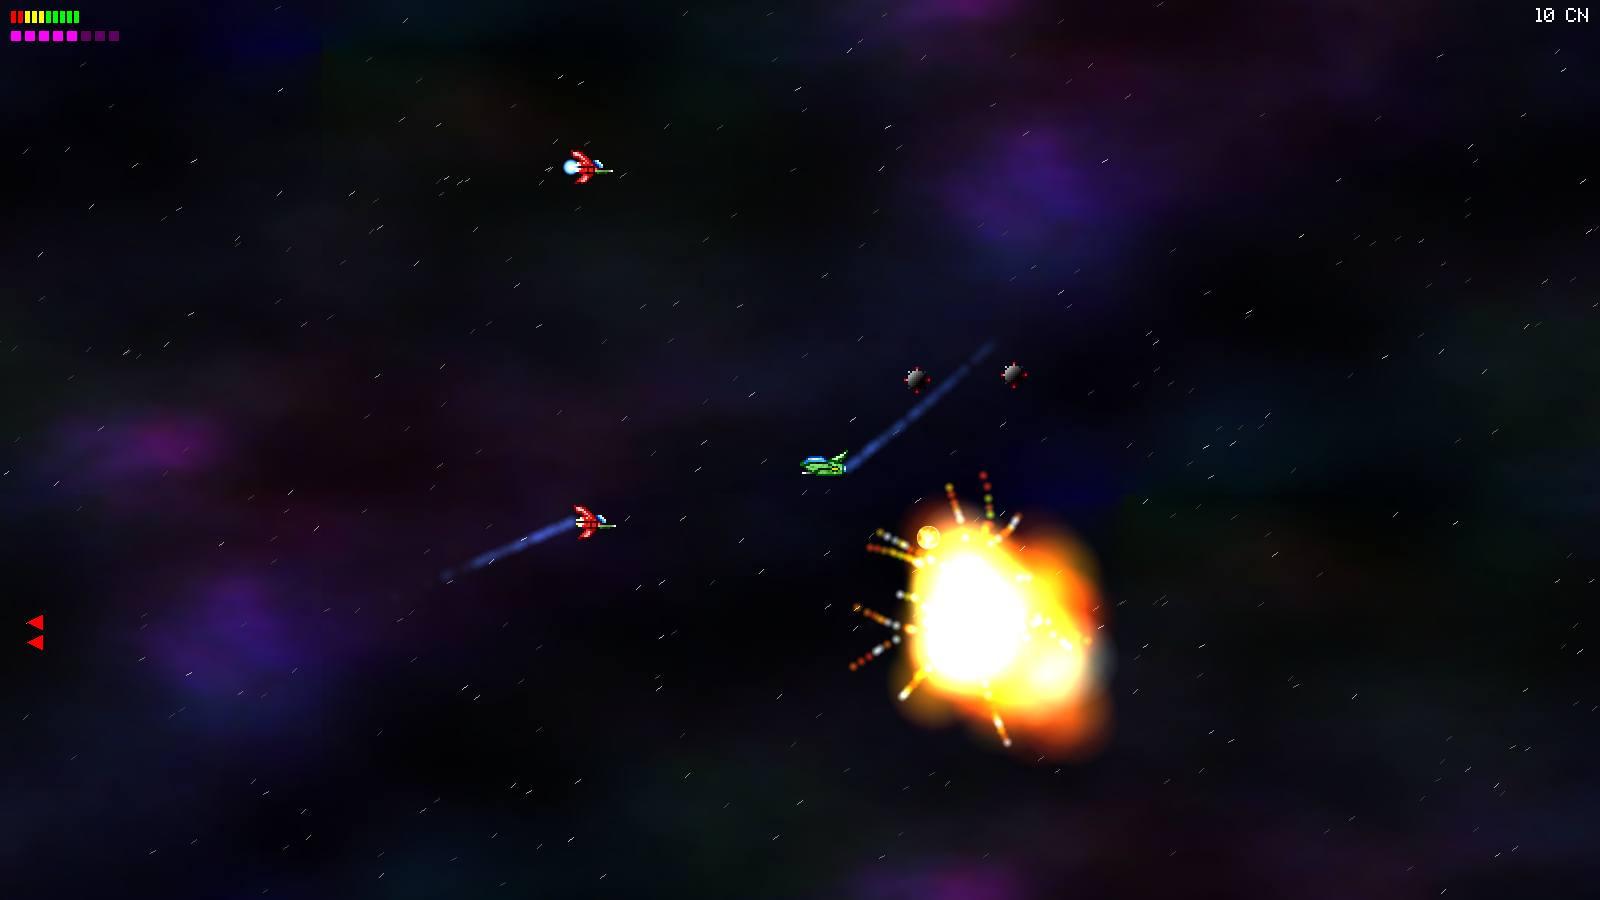
Our final secondary weapon is a mine. It's yet another weapon that is easy to implement, and also one with unique properties compared to the others. When deployed, our mines will move towards the nearest enemy (at a slow speed), exploding with an area effect when they are close. Thus, this weapon can affect multiple enemies at once.
Extract the archive, run cmake CMakeLists.txt, followed by make, and then use ./shooter3-10 to run the code. You will see a window open like the one above. Use the WASD control scheme to move the fighter around. Hold J to fire your main guns. Press I to deploy a mine. Play the game as normal. Deploying mines consumes ammo. Luring enemies into proximity of the mines will cause them to detonate, dealing them damage. The explosions cannot hurt the player. Once you're finished, close the window to exit.
Inspecting the code
As already stated, adding in our mines is a simple task, with only a few tweaks needed, as well as the logic updates.
As always, let's first turn to defs.h:
enum
{
	SW_NONE,
	SW_ROCKET,
	SW_HOMING_MISSILE,
	SW_RED_BEAM,
	SW_MINE
};
We've now added in the SW_MINE enum, to represent our mine seconday weapon.
Now, over to structs.h, where we've updated the Bullet struct:
struct Bullet
{
	// snipped
	int         facing;
	double      thinkTime;
	AtlasImage *texture;
	Entity     *owner;
	Entity     *target;
	void (*tick)(Bullet *b);
	void (*draw)(Bullet *b);
	Bullet *next;
};
We've added a new field - thinkTime. This will be used by the mine, to determine how it will wander around, and look for enemy targets.
With those done, we can now make the required updates and changes to bullets.c. First of all, we've updated initBullets:
void initBullets(void)
{
	// snipped

	rocketTexture = getAtlasImage("gfx/bullets/rocket.png", 1);

	mineTexture = getAtlasImage("gfx/bullets/mine.png", 1);
}
We're loading the texture for our mine (mineTexture). Easy. Now for the first of our mine function. We've added a new function called deployMine, that will be responsible for dropping a mine:
void deployMine(Entity *owner)
{
	Bullet *b;

	b = spawnBullet(owner);
	b->x = owner->x + (owner->texture->rect.w / 2);
	b->y = owner->y + (owner->texture->rect.h / 2);
	b->health = FPS * 300;
	b->texture = mineTexture;
	b->tick = mineTick;
	b->draw = standardDraw;
}
A standard factory function. Our mines will be spawned in the middle of the owner, and live for 5 minutes. Yep, a long time. We don't want our mines to expire after just a few seconds. We're setting the mine's `texture`, and its `tick` and `draw` functions to mineTick and standardDraw.
Let's look at mineTick now. This is where we do all the interesting stuff:
static void mineTick(Bullet *b)
{
	Entity *e, *candidates[MAX_MINE_TARGETS];
	int     i, n;

	b->thinkTime -= app.deltaTime;

	if (b->thinkTime <= 0)
	{
		if (b->target == NULL || b->target->dead)
		{
			findNewTarget(b);
		}

		if (b->target != NULL)
		{
			calcSlope(b->target->x, b->target->y, b->x, b->y, &b->dx, &b->dy);

			b->dx *= 0.5;
			b->dy *= 0.5;
		}

		n = 0;

		for (e = stage.entityHead.next; e != NULL; e = e->next)
		{
			if (e->side != b->owner->side && e->takeDamage != NULL)
			{
				if (n < MAX_MINE_TARGETS && getDistance(b->x, b->y, e->x, e->y) < 175)
				{
					candidates[n++] = e;
				}
			}
		}

		if (n > 0)
		{
			b->health = 0;

			for (i = 0; i < n; i++)
			{
				candidates[i]->takeDamage(candidates[i], 65);
			}

			addMineExplosions(b->x, b->y);
		}

		b->thinkTime = FPS / 4;
	}
}
We're decreasing the value of the mine's thinkTime. Our mine will only take action sometimes, so we need the thinkTime to have hit 0 or less. If so, we're going to have the mine first look for a target. This works very much like the logic for the homing missile. If the mine has a target, it will make its way towards it (by making use of calcSlope, and its `dx` and `dy` variables). Unlike our homing missile, our mine can change direction at will, and doesn't need to slow down.
Next, we're scanning all the entities in the stage, looking for enemies (those on a different side to the player, and can take damage). If we find one that's less than 175 pixels away, we'll add it to an array of entities called `candidates`. Our array is limited to MAX_MINE_TARGETS (which is defined as 256). With our list of nearby enemies created, we test the number that were nearby (`n`). If we found 1 or more, the mine will detonate. We'll set the mine's `health` to 0, and then loop through our list of candidates. For each one, we'll call the takeDamage function, passing over 65 as the damage. We'll then call addMineExplosions to create a nice explosion effect. The last thing we'll do is set the mine's thinkTime back to a quarter of a second; our mines will only scan for things that can set it off every so often.
So, in summary, our mine will move towards the nearest enemy target, exploding when it comes into ranage of any opposing enemy, and explode, dealing 65 points of damage to all those in range.
That's it for bullets.c. Our mines are using the standard drawing routine, as they're not doing anything special with their rendering!
On to player.c, to update fireSecondary:
static void fireSecondary(Entity *self)
{
	if (game.kite.ammo > 0 && game.kite.secondaryWeapon != SW_NONE)
	{
		switch (game.kite.secondaryWeapon)
		{
			// snippped

			case SW_MINE:
				deployMine(self);
				break;

			default:
				break;
		}

		game.kite.ammo--;
	}
}
We've added in SW_MINE to our switch statement, which will call deployMine.
Finally, we've updated initGame, so that we can use our mines:
void initGame(void)
{
	memset(&game, 0, sizeof(Game));

	game.kite.health = game.kite.maxHealth = 10;
	game.kite.reload = MIN_KITE_RELOAD;
	game.kite.output = 1;
	game.kite.damage = 1;
	game.kite.ammo = MAX_KITE_AMMO;
	game.kite.secondaryWeapon = SW_MINE;
}
There we have it. All of our secondary weapons have been added in. As already stated, these weapons will be available to the player to purchase from an in-game shop, and can be swapped at will between missions.
We've one last add-on to implement - an energy shield. This will technically be classed as a seconday weapon, since the player will need to equip it in place of the rockets, beam, etc. So, in our next part we'll look into how this is setup.
Purchase
The source code for all parts of this tutorial (including assets) is available for purchase:
From itch.io
It is also available as part of the SDL2 tutorial bundle: