PC Games
• Orb
• Lasagne Monsters
• Three Guys Apocalypse
• Water Closet
• Blob Wars : Attrition
• The Legend of Edgar
• TBFTSS: The Pandoran War
• Three Guys
• Blob Wars : Blob and Conquer
• Blob Wars : Metal Blob Solid
• Project: Starfighter
• TANX Squadron
Tutorials
• 2D shoot 'em up
• 2D top-down shooter
• 2D platform game
• Sprite atlas tutorial
• Working with TTF fonts
• 2D adventure game
• Widget tutorial
• 2D shoot 'em up sequel
• 2D run and gun
• Roguelike
• Medals (Achievements)
• 2D turn-based strategy game
• 2D isometric game
• 2D map editor
• 2D mission-based shoot 'em up
• 2D Santa game
• 2D split screen game
• 2D quest game
• SDL 1 tutorials (outdated)
Latest Updates
The Legend of Edgar 1.38
Thu, 1st January 2026
SDL2 Quest game tutorial
Wed, 7th May 2025
SDL2 Versus game tutorial
Wed, 20th March 2024
Download keys for SDL2 tutorials on itch.io
Sat, 16th March 2024
The Legend of Edgar 1.37
Mon, 1st January 2024
Tags
• battle-for-the-solar-system (10)
• blob-wars (10)
• brexit (1)
• code (6)
• edgar (10)
• games (45)
• lasagne-monsters (1)
• making-of (5)
• match3 (1)
• numberblocksonline (1)
• orb (2)
• site (1)
• tanx (4)
• three-guys (3)
• three-guys-apocalypse (3)
• tutorials (18)
• water-closet (4)
Books
A North-South Divide
For over a hundred years, messenger Duncan has wandered the world, searching for the missing pieces of an amulet that will rid him of his curse; a curse that has burdened him with an extreme intolerance of the cold, an unnaturally long life, and the despair of watching all he knew and loved become lost to the ravages of time. But now, Duncan is close to the end of his long quest.
— Mission-based 2D shoot 'em up —
Part 9: Secondary weapon: Red Beam
Note: this tutorial assumes knowledge of C, as well as prior tutorials.


Introduction
Beam weapons are another staple of shoot 'em ups. They tend to be devestating weapons that cause tremendous damage and strike many targets are once. In this part, we're going to implement such a weapon.
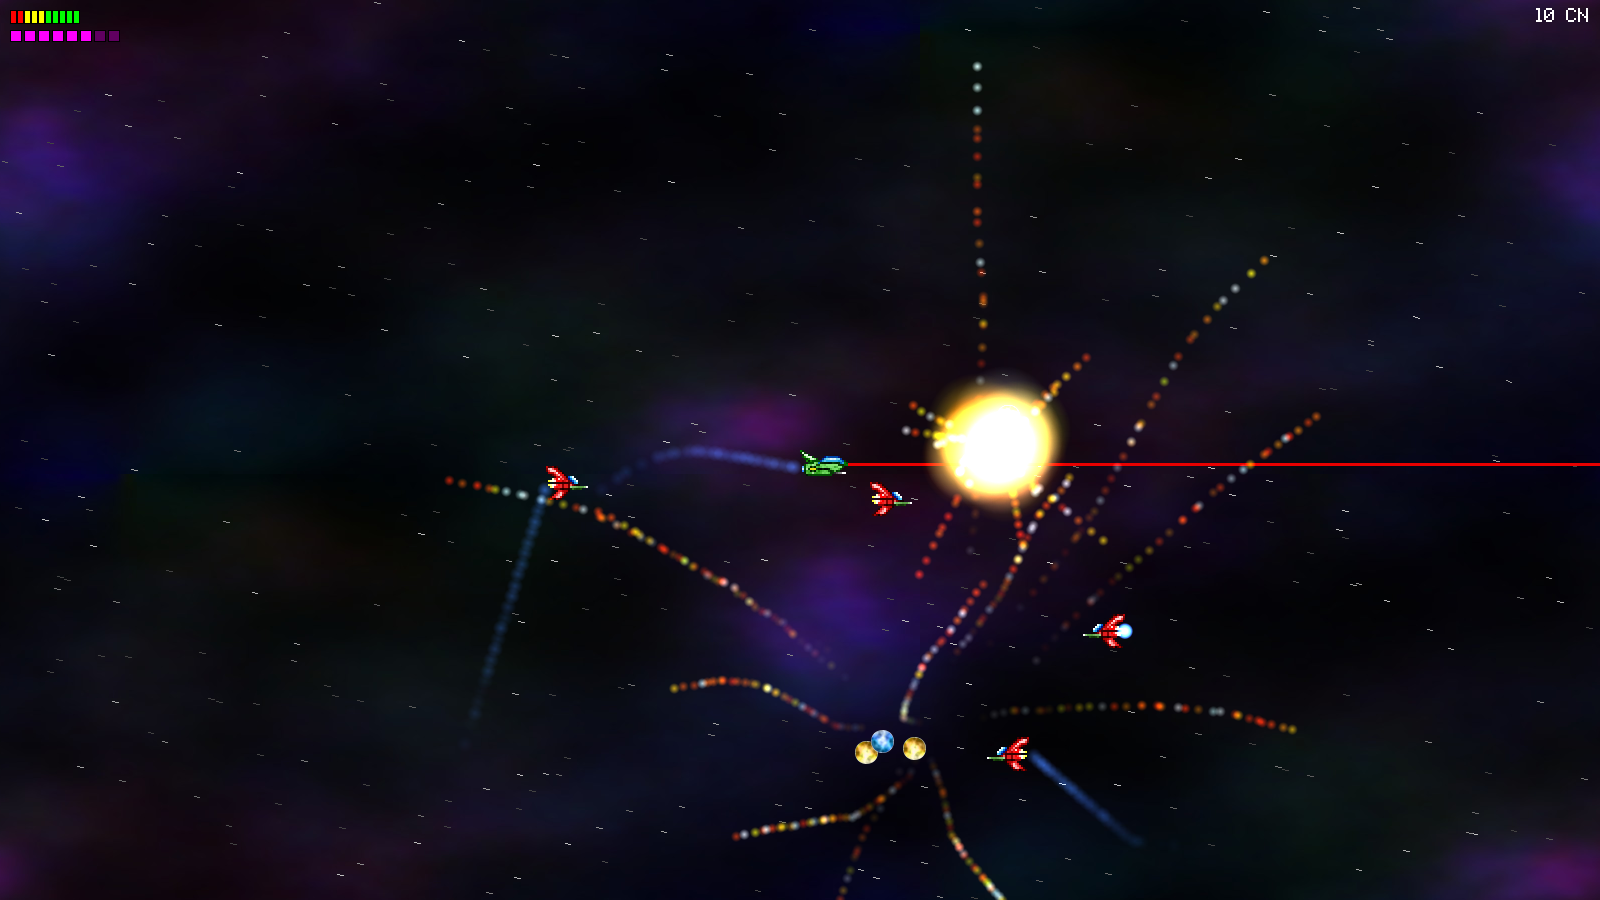
Extract the archive, run cmake CMakeLists.txt, followed by make, and then use ./shooter3-09 to run the code. You will see a window open like the one above. Use the WASD control scheme to move the fighter around. Hold J to fire your main guns. Press I to fire your secondary weapon (red beam). Play the game as normal. Using the red beam consumes ammo. Targets will take more damage the longer they are held in the path of the beam. Notice how the beam cuts through all targets, not just the first one it strikes. Once you're finished, close the window to exit.
Inspecting the code
Our red beam is one of the easiest beams to define, implement, and draw. And, once again, because we have already put in all the leg work for bullets and our weapons systems, it's even easier to setup.
First, let's look at the update to defs.h:
enum
{
	SW_NONE,
	SW_ROCKET,
	SW_HOMING_MISSILE,
	SW_RED_BEAM
};
As expected, we've added in a new enum - SW_RED_BEAM will represent our red beam weapon.
Now, over to bullets.c, where we've added in all the necessary functions. To begin with, we've added fireRedBeam:
void fireRedBeam(Entity *owner)
{
	Bullet *b;

	b = spawnBullet(owner);
	b->health = FPS * 3;
	b->tick = redBeamTick;
	b->draw = redBeamDraw;
}
We're simply creating the bullet we need, setting its `health` (3 seconds), and assigning its `tick` and `draw` functions. Notice how we're not doing anything else - our beam has no velocity, damage, etc. This is because we'll be handling all of this in the tick function.
Let's look at the redBeamTick function now:
static void redBeamTick(Bullet *b)
{
	Entity  *e;
	SDL_Rect r;
	double   damage;

	damage = RED_BEAM_DPS * app.deltaTime;

	getRedBeamRect(b, &r);

	for (e = stage.entityHead.next; e != NULL; e = e->next)
	{
		if (e->side != b->owner->side && e->takeDamage != NULL && collision(r.x, r.y, r.w, r.h, e->x, e->y, e->texture->rect.w, e->texture->rect.h))
		{
			e->takeDamage(e, damage);
		}
	}
}
The first thing we're doing is determining how much damage we want to cause, by making use of RED_BEAM_DPS and our delta time. RED_BEAM_DPS defines how much damage the beam will cause per second (DPS being short of Damage Per Second). It is set to 15 (the define itself says 15.0 / FPS, to do the maths correctly, when used with our delta time). Next, we're calling a function named getRedReamRect, passing across the bullet, and an SDL_Rect into which the result will be placed. Basically, this function will calculate the rectangular area the red beam occupies, so that it can be used for both rendering and collision detection. With our rectangle determined (`r`), we're then looping through all entities in the stage, checking for enemies of the owner that can be hurt, and testing for a collision between them and the rectangle. Upon success, we're calling the entity's takeDamage function, passing over the entity itself, and the damage we calculated earlier.
Very simple! Let's look at redBeamDraw next:
static void redBeamDraw(Bullet *b)
{
	SDL_Rect r;

	getRedBeamRect(b, &r);

	r.x -= stage.camera.x;
	r.y -= stage.camera.y;

	if (collision(r.x, r.y, r.w, r.h, 0, 0, SCREEN_WIDTH, SCREEN_HEIGHT))
	{
		drawRect(r.x, r.y, r.w, r.h, 128 + rand() % 128, 0, 0, 255);
	}
}
This couldn't get any easier to understand - we're once again calling getRedBeamRect, testing if the resulting rectangle is on screen, and then calling drawRect, passing over the rectangle's attributes. For the colour, we're randomly choosing a value between 128 and 255, so that our beam appears to pulse.
Lastly, let's see how getRedBeamRect works:
static void getRedBeamRect(Bullet *b, SDL_Rect *r)
{
	r->y = b->owner->y + (b->owner->texture->rect.h / 2);
	r->w = SCREEN_WIDTH / 2;
	r->h = 3;

	if (b->owner->facing == FACING_RIGHT)
	{
		r->x = b->owner->x + b->owner->texture->rect.w;
	}
	else
	{
		r->x = b->owner->x - r->w;
	}
}
You will notice how the red beam sticks to the player's fighter as it moves around. We're determining this here. The rectangle's (`r`) `y` value is set to the vertical middle of the bullet's owner. Next, we're setting the width and height to be half a screen wide, and 3 pixels tall. Finally, we're testing the direction the owner is facing, and positioning the beam accordingly. If the owner is facing right, we'll position the beam's origin on its right-hand side. If left, we'll position the beam to be the owner's x location less the rectangle's width. This properly aligns the beam when it comes to drawing.
An advantage of using getRedBeamRect is that it gives us a single version of the truth for the beam, rather than doing some calculations in one function, and the rest in another.
We're almost done! Just two more updates remaining and our weapon is ready. Heading over to player.c, we've once again updated fireSecondary:
static void fireSecondary(Entity *self)
{
	if (game.kite.ammo > 0 && game.kite.secondaryWeapon != SW_NONE)
	{
		switch (game.kite.secondaryWeapon)
		{
			// snipped

			case SW_RED_BEAM:
				fireRedBeam(self);
				break;

			default:
				break;
		}

		game.kite.ammo--;
	}
}
We've added SW_RED_BEAM to our switch statement, where we're now calling the new fireRedBeam function.
Finally, let's tweak initGame in game.c:
void initGame(void)
{
	memset(&game, 0, sizeof(Game));

	game.kite.health = game.kite.maxHealth = 10;
	game.kite.reload = MIN_KITE_RELOAD;
	game.kite.output = 1;
	game.kite.damage = 1;
	game.kite.ammo = MAX_KITE_AMMO;
	game.kite.secondaryWeapon = SW_RED_BEAM;
}
We're setting SW_RED_BEAM as our secondary weapon.
There we go. We now have three secondary weapons to play with, all of which have different properties and behaviours. The final weapon we're going to add are mines. These, again, will be very easy to work with, and will float about, moving towards enemies, and exploding with tremendous power.
Purchase
The source code for all parts of this tutorial (including assets) is available for purchase:
From itch.io
It is also available as part of the SDL2 tutorial bundle: