— 2D Top-down shooter tutorial —
Part 1: Reading the mouse

Introduction
Note: this tutorial series builds upon the ones that came before it. If you aren't familiar with the previous tutorials, or the prior ones of this series, you should read those first.
This first tutorial will explain how to read the mouse in SDL2. Extract the archive, run cmake CMakeLists.txt, followed by make to build. Once compiling is finished type ./bad01 to run the code.
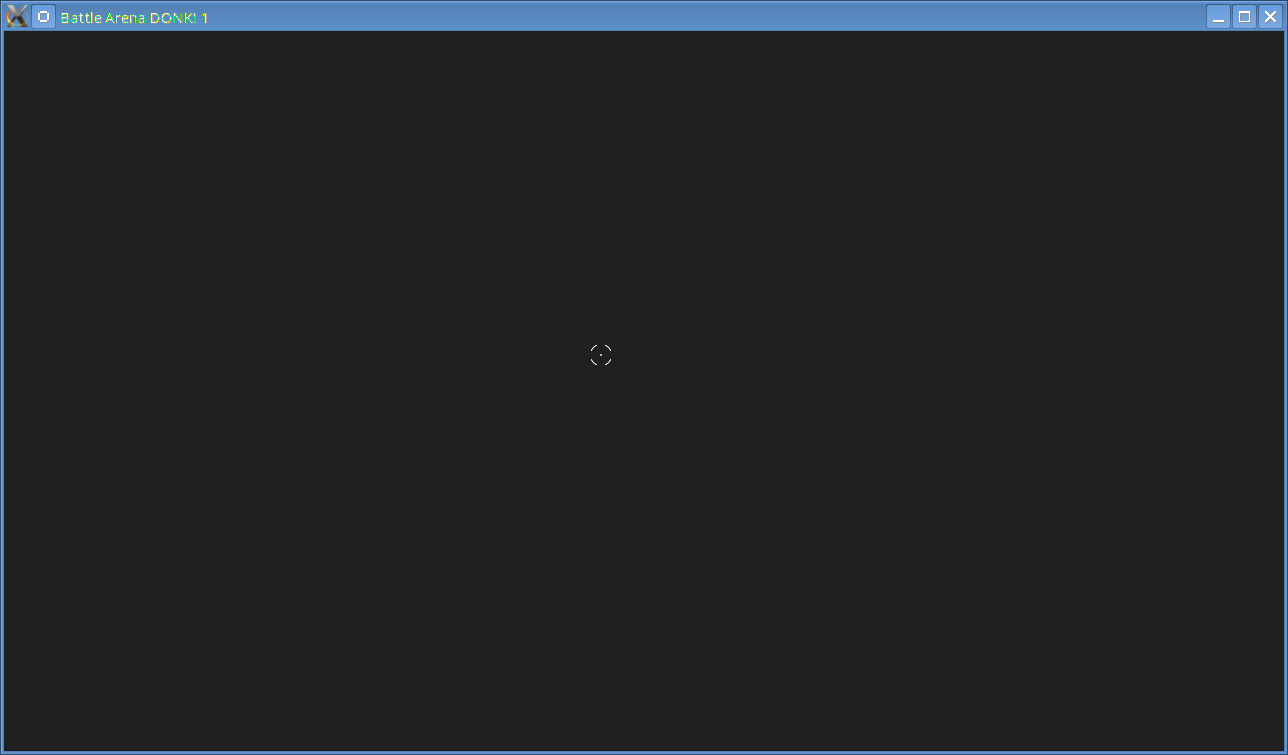
A 1280 x 720 window will open, with a dark grey background. A targetter will be shown that will track the mouse movements. Close the window by clicking on the window's close button.
Inspecting the code
Reading the mouse in SDL is very easy. We're going to take a look at structs.h first:
typedef struct {
	int x;
	int y;
} Mouse;

typedef struct {
	...
	Mouse mouse;
	...
} App;
We've created a struct to hold our mouse data, called Mouse. We're then declaring one such object in App. Quite straightforward. Next, we'll come to the actual reading of the mouse. This is a simple one line call in input.c:
void doInput(void)
{
	...
	SDL_GetMouseState(&app.mouse.x, &app.mouse.y);
}
In our doInput function (which reads the SDL events) we make a call to SDL_GetMouseState. The function takes two parameters: references to variables that will hold and x and y coordinates of the current mouse position. We're passing over our app.mouse.x and app.mouse.y to hold the values. Note that there is no need to code in anything to open the mouse for reading, etc; this is all done by SDL_Init.
So far, so good. If we now turn our attention to stage.c (which will represent our game level when we fill everything in - same as the shooter tutorial), we see just three functions - initStage, logic, and draw. If we first consider initStage:
void initStage(void)
{
	app.delegate.logic = logic;
	app.delegate.draw = draw;

	targetterTexture = loadTexture("gfx/targetter.png");
}
We're assigned our logic and draw functions to the delegate and then loading a texture called targetter.png into a variable called targetterTexture. We'll use this for drawing the mouse pointer. Next, the logic and draw functions:
static void logic(void)
{

}

static void draw(void)
{
	blit(targetterTexture, app.mouse.x, app.mouse.y, 1);
}
There's nothing to do yet with logic, as the mouse reading is happening in input.c. Our draw function does one simple thing: blits targetterTexture at the mouse's coordinates. Compared to our shooter tutorial, our blit function now takes four parameters: the texture, the x and y coordinates, and a variable to say whether the texture should be centered (1 or 0). In this case, we want the targetter to be centered around the mouse coordinates, so we pass 1.
As we can see, stage.c is very simple. It does the job, however. We'll take a look at the updated blit function in draw.c quickly:
void blit(SDL_Texture *texture, int x, int y, int center)
{
	SDL_Rect dest;

	dest.x = x;
	dest.y = y;
	SDL_QueryTexture(texture, NULL, NULL, &dest.w, &dest.h);

	if (center)
	{
		dest.x -= dest.w / 2;
		dest.y -= dest.h / 2;
	}

	SDL_RenderCopy(app.renderer, texture, NULL, &dest);
}
All that is happening here is that we're testing the center variable and shifting the texture by half its width and height if needed, to center it around the input coordinates.
Finally, we should remember to turn off the OS's native mouse cursor:
void initSDL(void)
{
	...
	SDL_ShowCursor(0);
}
We do this in init.c, in our initSDL function. A call to SDL_ShowCursor, sending over 0, is enough for this.
As you can see, reading the mouse in SDL is easy. We'll ramp things up a bit in the next tutorial by drawing our main character and other things. Again, this tutorial series will run a bit faster than the 2D shoot 'em up, so if you get a little confused do go back to it.
Purchase
The source code for all parts of this tutorial (including assets) is available for purchase:
From itch.io
It is also available as part of the SDL2 tutorial bundle:


